A Dessert Table With Breathing Room: The Host's Guide to a Holiday Spread That Gets Eaten
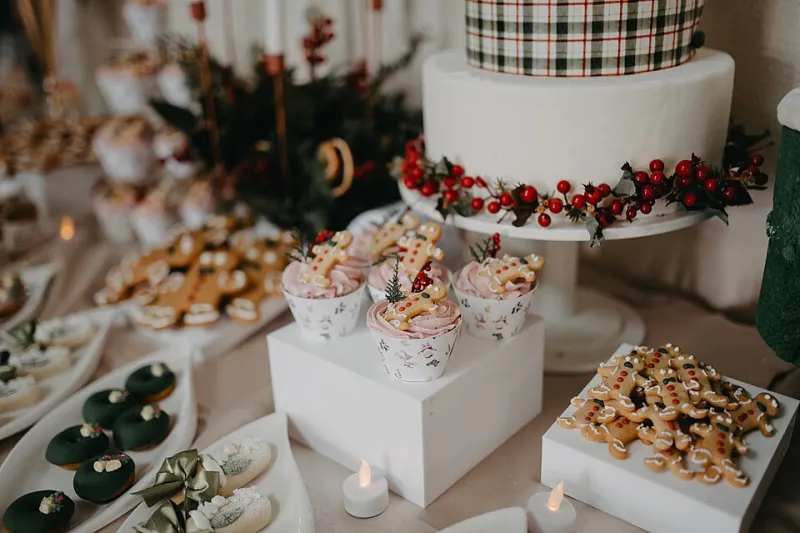
Photo: Shixart1985, CC BY 2.0, via Wikimedia Commons
A holiday dessert table has a funny job. It needs to look abundant enough for a magazine cover and practical enough that people actually eat from it. Too often, hosts spend hours styling a spread that becomes a barricade of brownies, candy canes, and cake stands. Guests admire it, take one cookie, and drift back to the living room. The fix is not more sweets. It is breathing room.
This guide is for the stretch from Thanksgiving through New Year's Eve 2026, when kitchens are busy and guests are grazers. Whether you are hosting a small family dinner or a drop-in party, a good dessert table is less about stacking everything you own and more about giving each treat a reason to be there.
Start With the Room, Not the Recipes
Before you bake or order a single thing, sketch the table. Where will people stand? Which side will they approach from? Is there a wall behind the table, or does traffic need to flow on both sides? A dessert table works best when it has a clear beginning and end: plates and napkins at one end, forks and take-home boxes at the other, and the sweets in between.
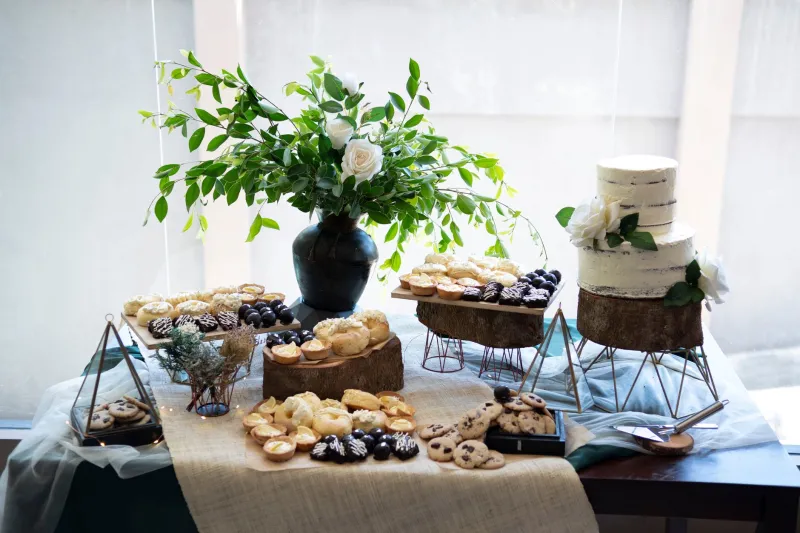
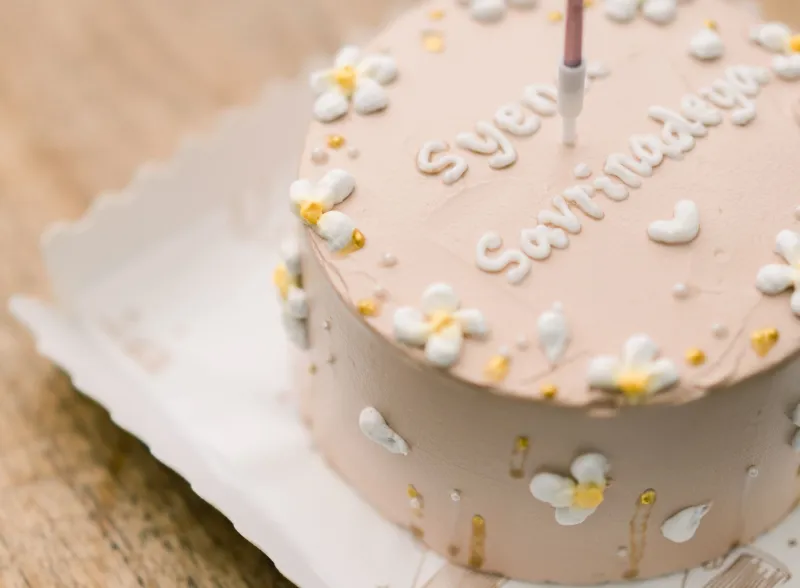
Choose one anchor item first. A custom cake from Fiona's Sweet Shoppe can do this beautifully, but a stack of frosted cookies or a pretty candy jar arrangement can anchor the table too. Build outward from that anchor with lower items. Use risers for height, but keep them toward the back. Nothing tall should block a guest's view of the table or make it hard to reach the gingerbread.
Leave actual empty space on the surface. A few bare inches between platters make the table feel curated instead of chaotic. It also gives guests a place to set down a plate while they reach for a napkin. Small bowls and narrow platters help here. So does resisting the urge to fill every corner.
The Quantity Math That Saves You From a Countertop of Leftovers
The most common dessert table mistake is choosing too many options. Five to six categories is plenty: one cake, one cookie, one bar or brownie, one candy, one seasonal confection, and maybe a fruit-forward item. More than that and guests get decision fatigue before they get dessert.
For quantities, think in pieces rather than platters. If dessert follows a full meal, plan two to three bite-size pieces per guest. If dessert is the main event, or the party falls between meals, plan four to five pieces per guest. Add a 10 to 15 percent buffer for big appetites and accidental double-dippers.
For a 20-person holiday dinner, that could mean one 8-inch custom cake cut into small slices, 24 cookies, 24 mini tarts, 30 pieces of wrapped candy, and 20 chocolate truffles. That sounds like a lot, but it covers five categories without turning into a mountain. If you are serving a very rich cake, scale back the truffles. If candy is the star, let it carry more of the load.
Use smaller platters than you think you need. A half-full platter looks welcoming. An overflowing one looks like a chore. You can always refill from the kitchen, which also keeps the table looking fresh as the party goes on.
Build a Flavor Map, Not a Color Scheme
A pretty dessert table often starts with color, but an eaten dessert table starts with flavor. Pick pairings that contrast rather than compete. Chocolate and caramel with flaky salt is a reliable crowd-pleaser. Vanilla cake with berries feels light after a heavy holiday meal. Gingerbread or spice cookies with cream cheese frosting bring the season without going overboard. Lemon bars next to almond cookies give guests a bright, nutty option. Peppermint and dark chocolate are a classic for December, but one minty item is usually enough.
Aim for variety in texture too. Include something creamy, something chewy, something crunchy, and something fresh. Candy can provide color and crunch, but it should not be the only thing guests remember. A small dish of sugared cranberries or a bowl of clementines can wake up a table that is otherwise all brown and beige.
Labels help more than hosts expect. A tiny card that says Gingerbread with Cream Cheese Frosting or Dark Chocolate Sea Salt Truffle does two things: it makes the table look thoughtful, and it helps guests with allergies or strong preferences make a safe choice. Keep labels short and readable from standing height.
The Make-Ahead Timeline
A holiday dessert table should not be assembled in a panic. Work backward from party time.
Two weeks out: order any custom cake or specialty confections from your bakery, and confirm pickup or delivery for the busy holiday week. If you are making candy or cookies that freeze well, start planning your batches.
One week out: confirm your guest count, buy shelf-stable items, and test your platters on the actual table. Take a photo of the layout so you can recreate it later.
Three days out: bake cookies, bar cookies, and anything that improves with a day of rest. Freeze what you can. Make your labels and gather serving utensils.
Two days out: shop for perishables, clean platters, and set aside take-home boxes. If you are using fresh fruit, buy it now but do not cut it yet.
Day before: set out non-perishable candy, cookies, and labels. Chill anything that needs it. Keep the table itself clear so you are not moving stacks of mail at the last minute.
Morning of: arrange the table except for perishable items. Leave the cake uncut until guests arrive, and hold whipped cream, fresh fruit, and anything temperature-sensitive in the fridge until the last hour.
Styling Moves That Keep It Edible
Use risers to create height, but do not build a wall. Put the tallest items at the back and keep the front edge open for plates. Avoid strongly scented candles or flowers near the food; they compete with the dessert. If you want a centerpiece, keep it small and place it off to one side.
Put a serving utensil with every platter. Guests should not have to guess which knife goes with the cake. Provide small plates, forks, and napkins at the start of the table, and set a trash bin or a small bowl for wrappers nearby. If candy is unwrapped, offer tongs or a small scoop.
Wrapped candy is your friend at holiday parties. It holds up better in a warm room, and guests can take a piece home without feeling like they are raiding the display. If you are serving chocolate in a warm house, keep it in a cooler spot or choose a candy that does not bloom.
Finally, do not over-plan the cake cutting. A custom cake is meant to be eaten. Have a plan for slicing it early enough that guests who want a piece actually get one.
Common Mistakes to Avoid
The biggest mistake is too many choices. The second biggest is a table with no negative space. Other frequent flops: no labels, no plates, no trash bin, and no plan for leftovers. A dessert table without take-home boxes means you will be eating cookies for breakfast until January.
Also watch for the all-brown table. Chocolate, caramel, and spice are wonderful, but add one bright note, whether it is lemon, berry, or candy. And do not ignore dietary needs. A small nut-free or gluten-friendly option saves guests from awkward conversations and makes the whole spread feel more welcoming.
A holiday dessert table does not need to be a production. It needs a clear layout, sensible quantities, a flavor plan, and enough empty space for guests to reach in and enjoy themselves. At Fiona's Sweet Shoppe, we like a table that looks handcrafted but not overworked, generous but not overwhelming. Build in a little breathing room, and your guests will do the rest.